For years, the Aimtell plugin for WordPress did one job. It signed you in, added the tracking script to your site, and sent you to the Aimtell dashboard for everything else. That got subscribers flowing, but it also meant that every campaign, every segment and every look at your numbers happened somewhere other than the place you were already working.
Version 3.0 changes that. The plugin is now a home for push inside WordPress. You can see how your subscribers are growing, write and send a campaign from a post you just published, push new posts out automatically, and build segments, all without opening another tab. And if you have not signed up yet, you can look around the whole thing on sample data before you create an account.
Here is what is new, screen by screen. If you already run the plugin, update it from your Plugins page, or grab it from the WordPress plugin directory.
Your Numbers, Right in WordPress
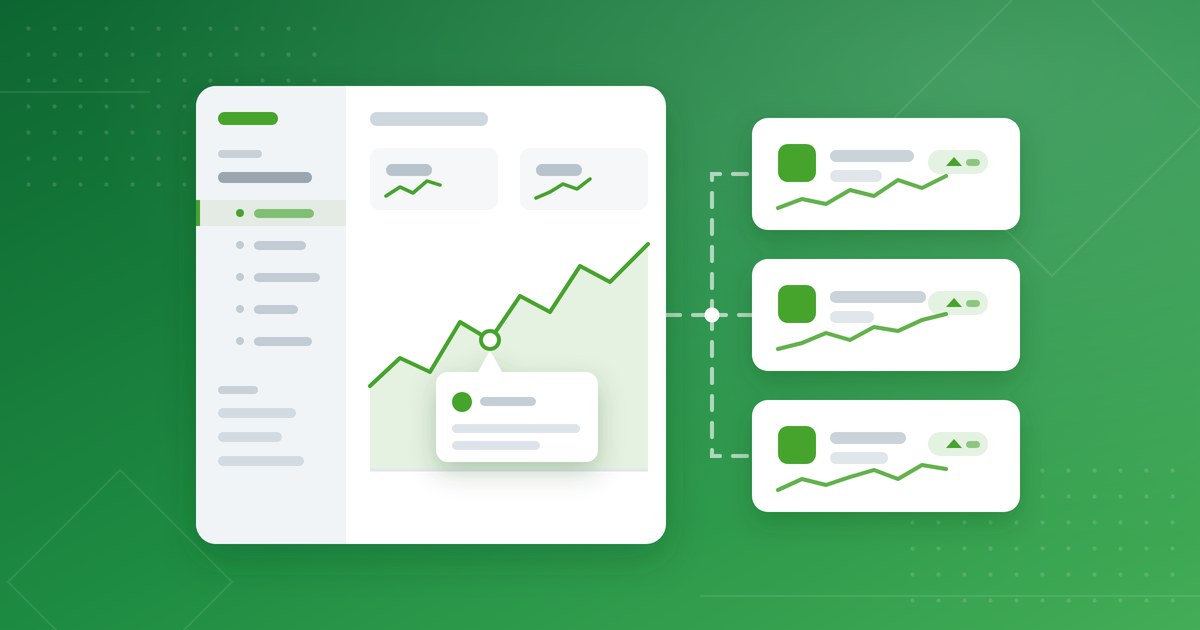
The Overview is the screen you will see every day, and it replaces the old "Installation Complete" page that was a sentence and a link. Four headline numbers sit across the top: new subscribers, notifications sent, notifications clicked and conversion value, each compared with the previous period so you can tell at a glance whether things are moving the right way.
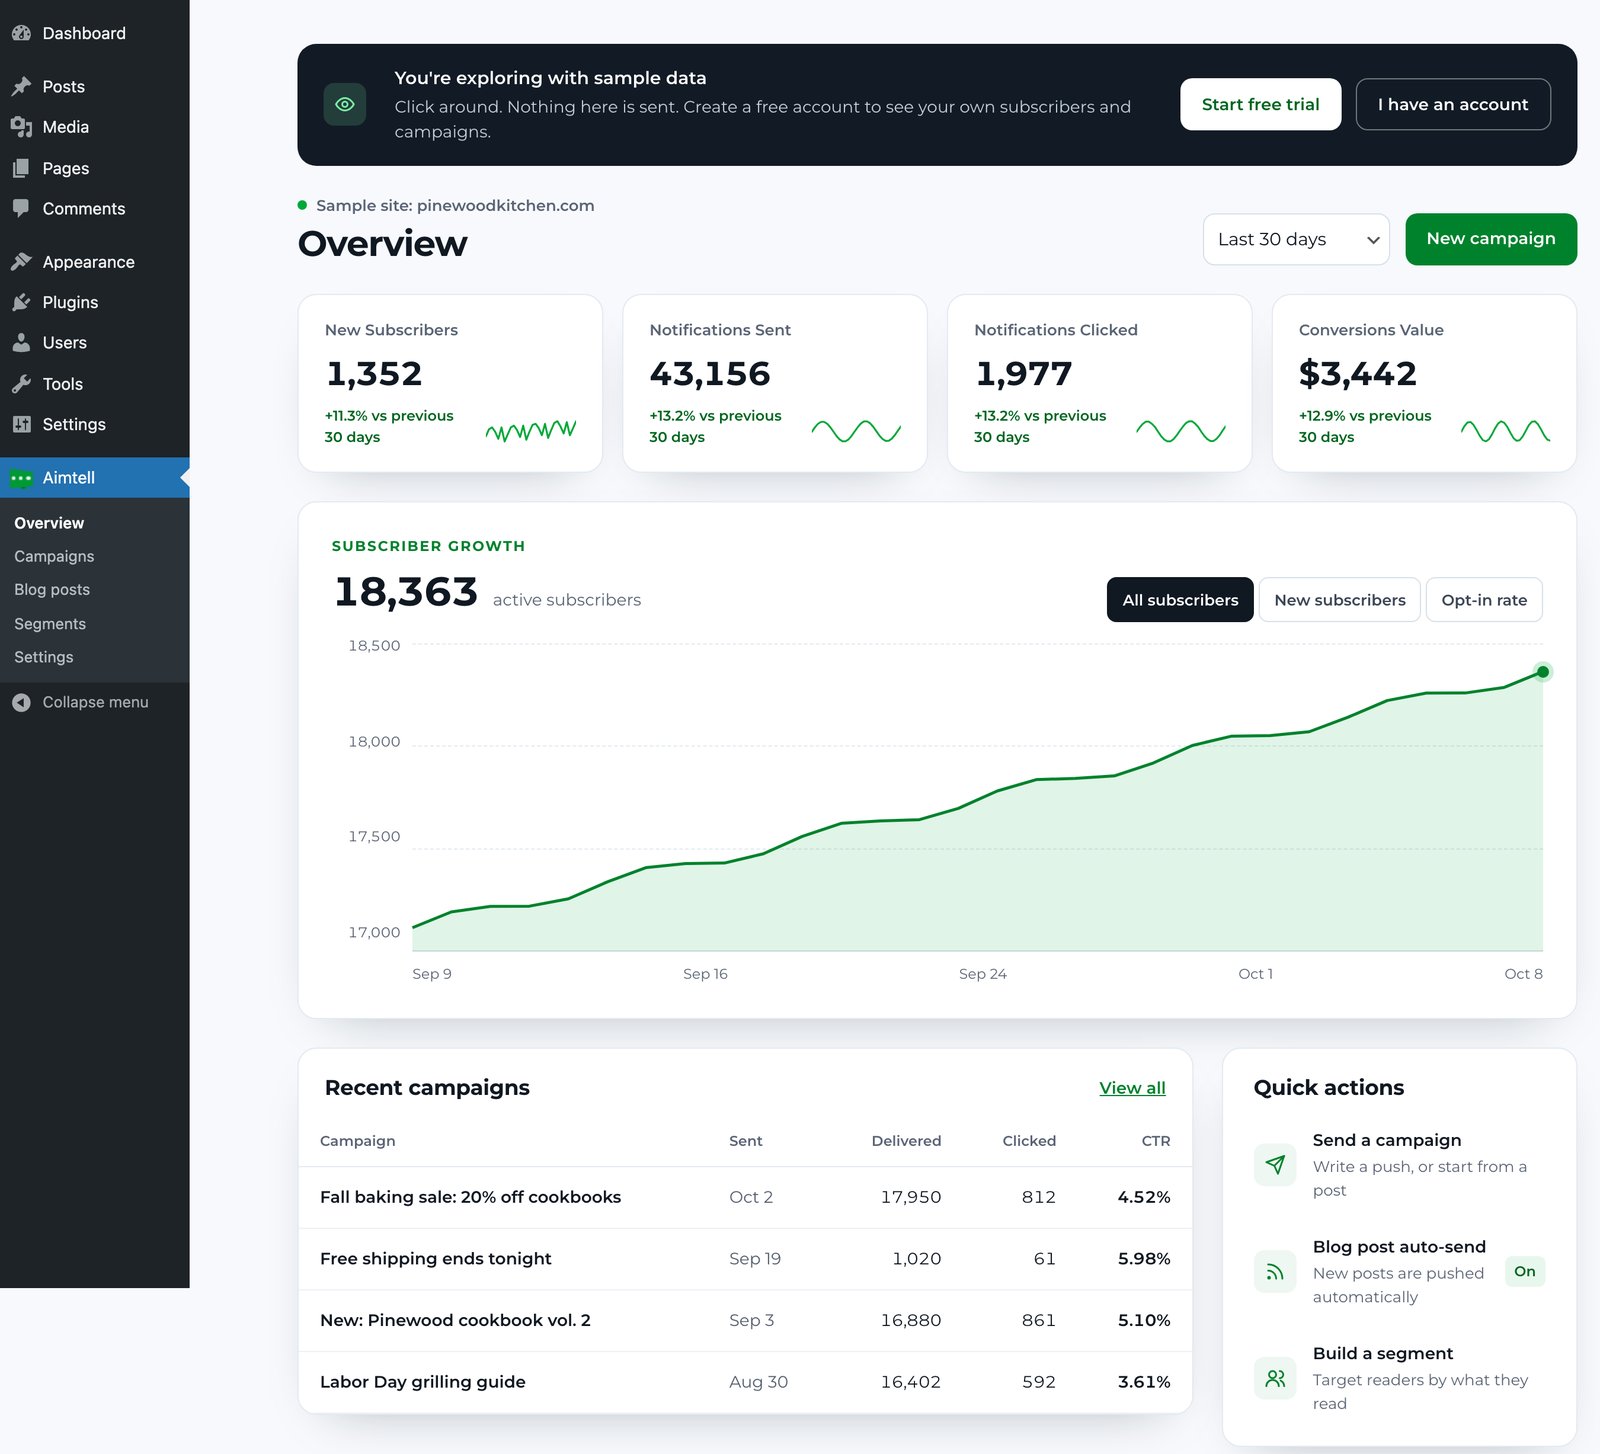
Under them is a subscriber growth chart you can switch between all subscribers, new subscribers and your opt-in rate. Below that are your most recent campaigns with delivered, clicked and click-through rate, plus quick links to send a campaign, set up blog auto-send or build a segment. If you run WooCommerce, a small card shows whether your cart and product view reminders are switched on.
Before you connect an account, this same screen runs on sample data. Click around, open the composer, try the segment builder. Nothing is sent, and a banner across the top lets you start a free trial or sign in whenever you are ready.
Connecting a Site Takes a Couple of Clicks
Setting up used to be the hardest part. The old plugin only reused an existing Aimtell site if its address matched exactly, created a new one otherwise, and asked you to upload an icon by hand.
Now, once you sign in, the plugin lists the sites already on your Aimtell account and pre-selects the one that matches this WordPress site. Pick it and press Connect site. If you want a fresh one instead, choose Create a new site, and the plugin uses your WordPress Site Icon as the notification icon automatically. You can pick a different one from the Media Library if you prefer.
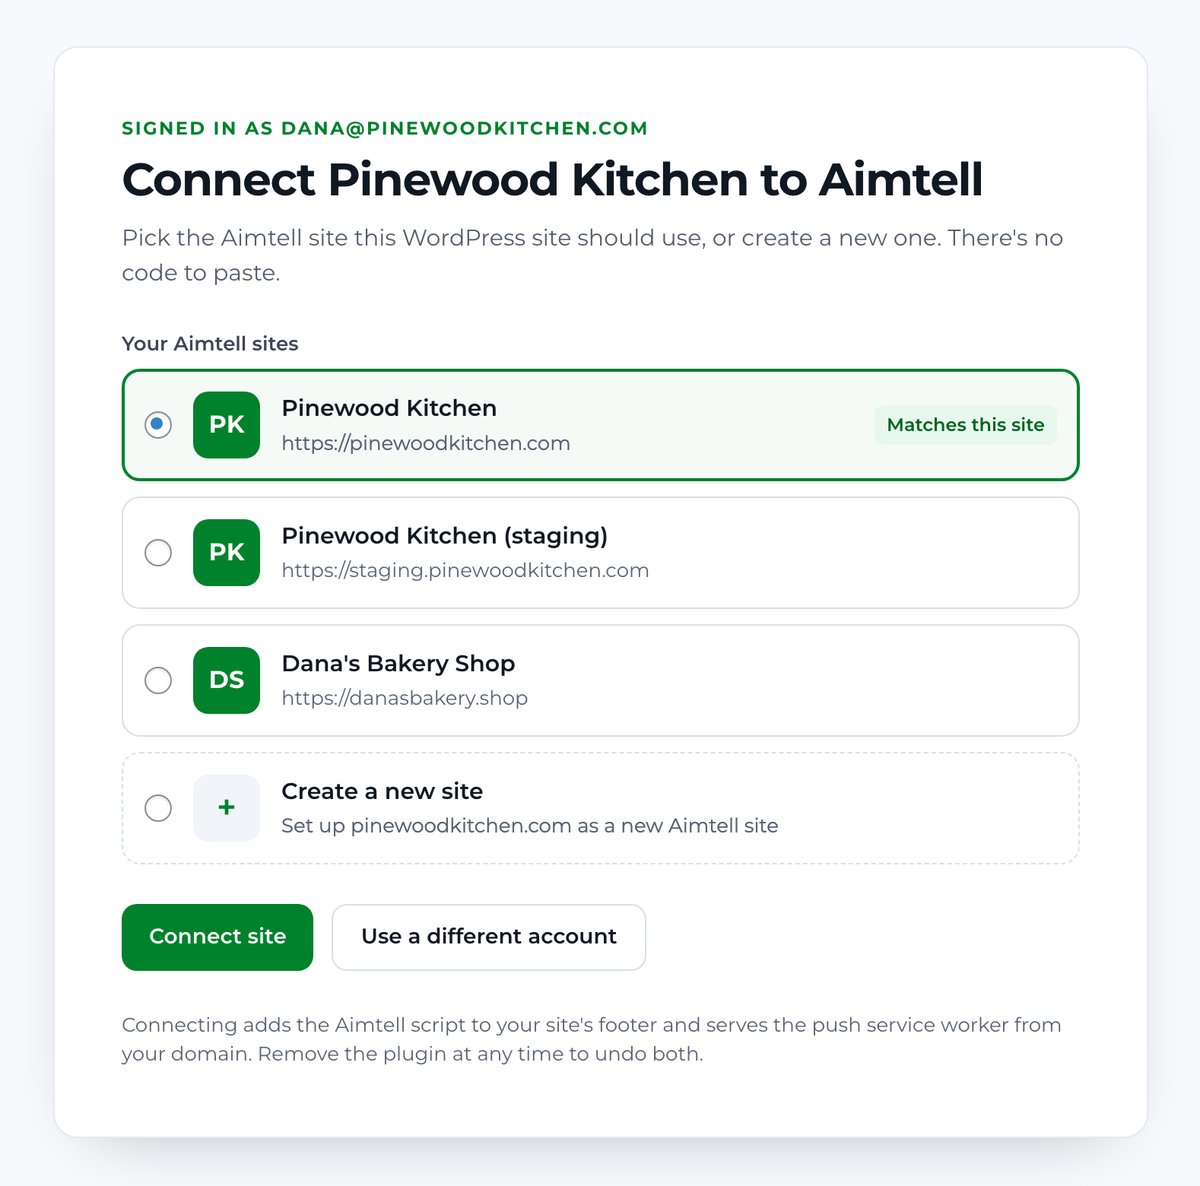
There is no code to paste. Connecting adds the Aimtell script to your site and serves the push service worker from your own domain. If you pick a site set up for a different address, the plugin warns you first, since push only collects subscribers on the address a site was set up for.
Write and Send a Push From Any Post
The new Campaigns screen lists your campaigns by status (Drafts, Scheduled, Sent and Paused) with delivered, clicked and click-through rate for each one. Press New campaign and you get a composer built around the way WordPress sites actually publish.
Start from a post and the title, excerpt, link and featured image fill themselves in. Edit anything you like and the preview on the right updates as you type. Choose an icon and a large image from your Media Library, the same way you would add an image to a post.
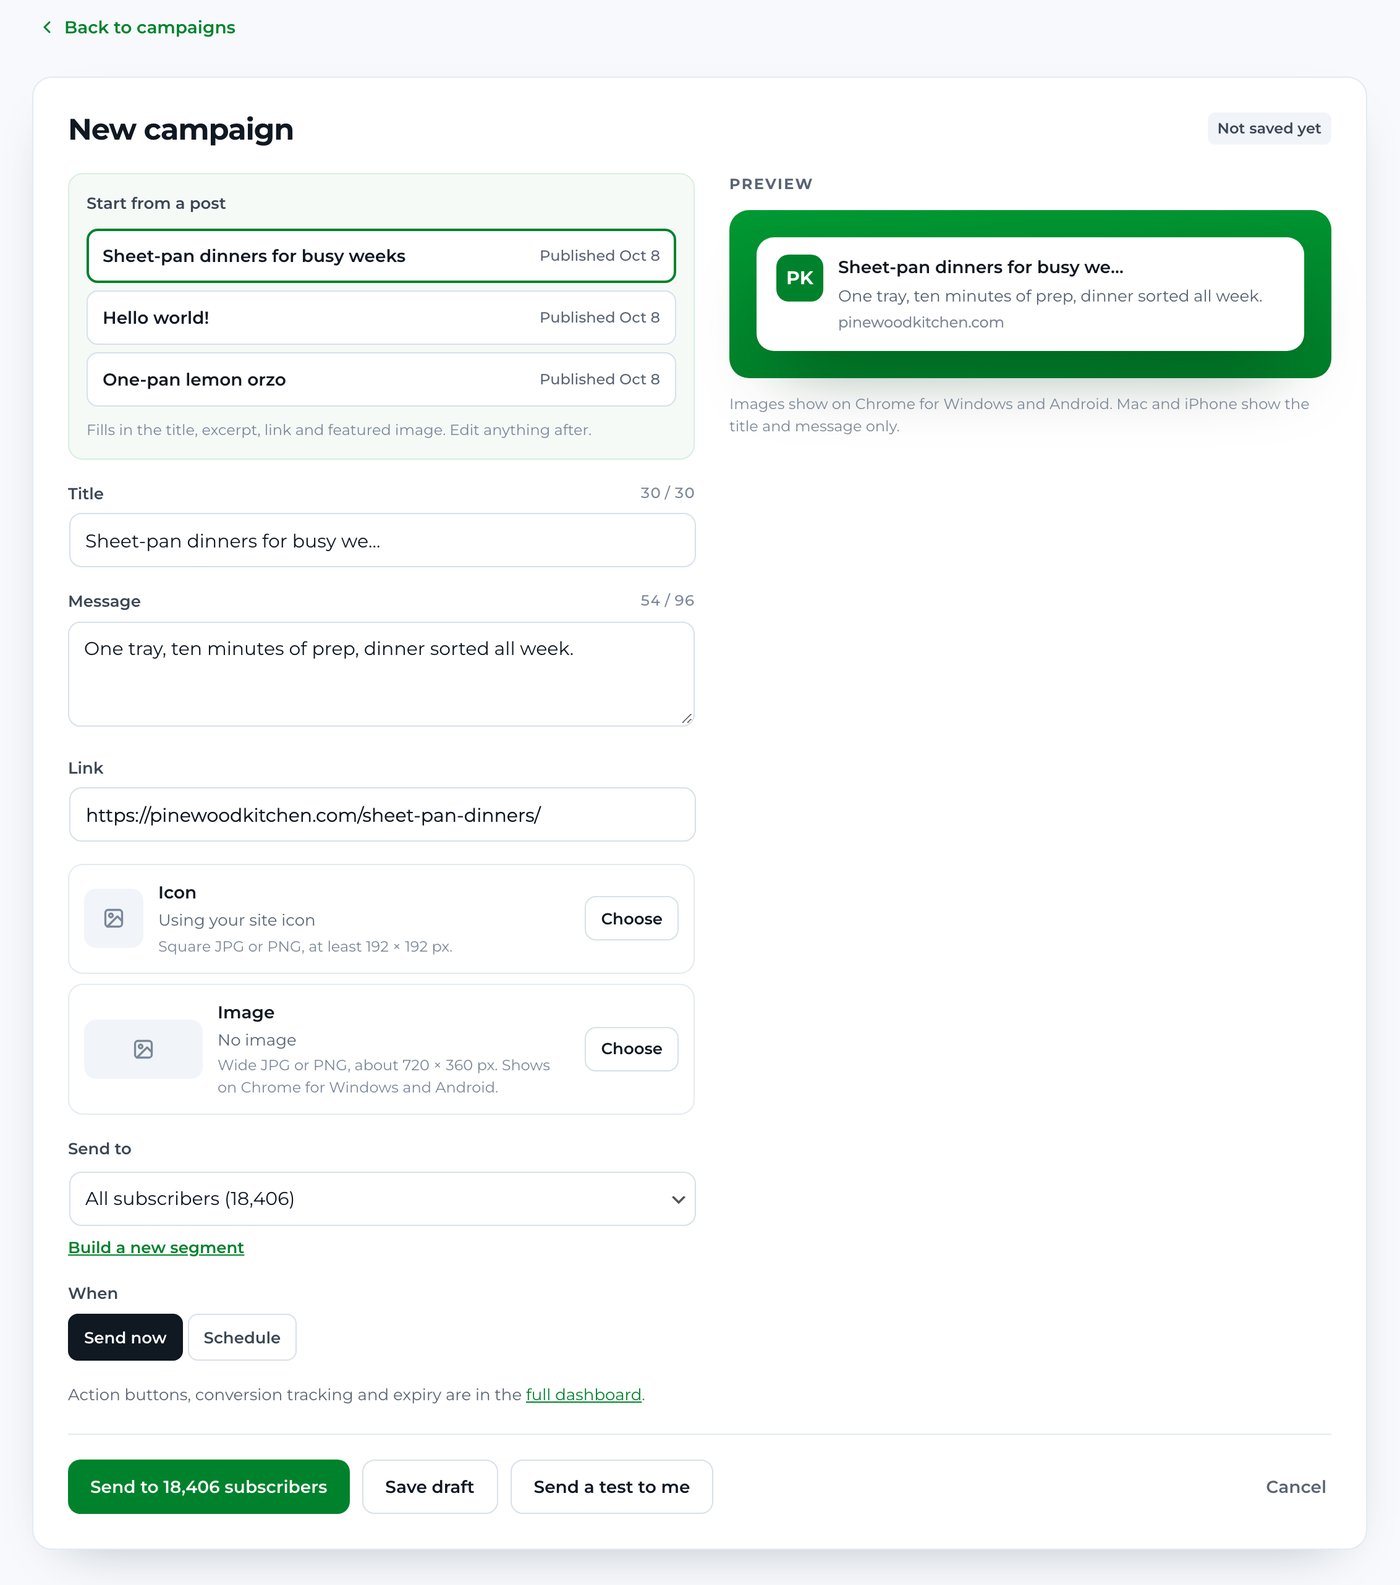
Then pick who it goes to, from all subscribers or any of your segments, and either send it now or schedule it for later in your account's time zone. Not sure how it will look? Send a test to your own browser first. Save draft keeps it for later, and anything you start here shows up in your Aimtell dashboard too.
A few advanced options, such as action buttons, conversion tracking and expiry, still live in the full dashboard, and the composer links straight to it.
New Posts Go Out on Their Own
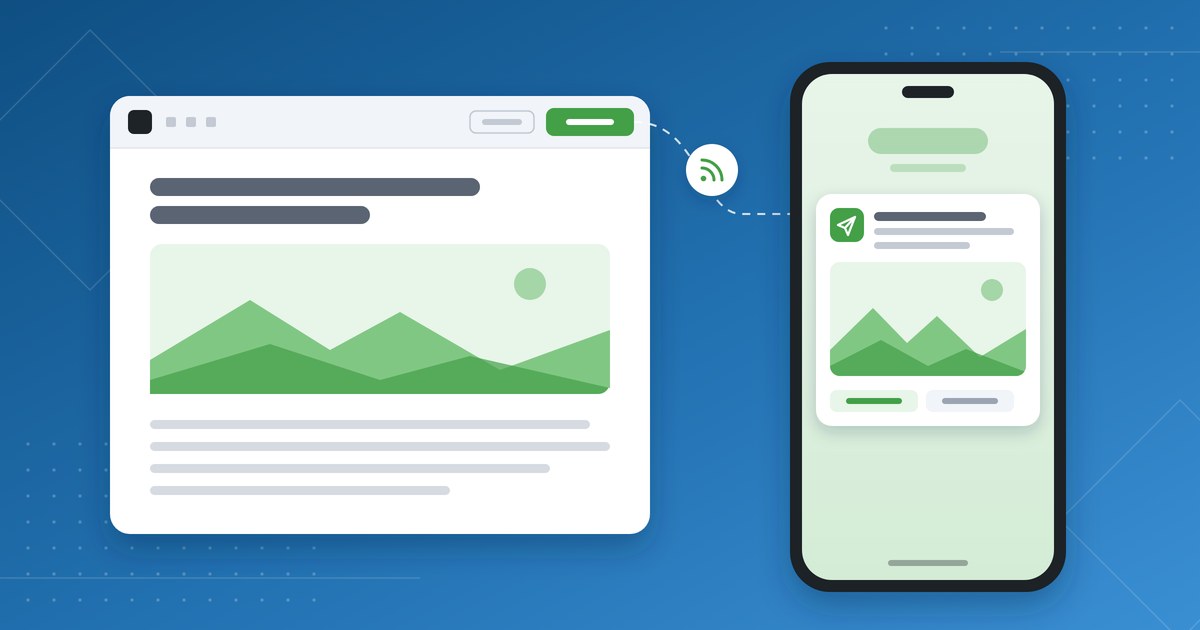
If you publish regularly, the Blog posts screen is the one to set up first. Turn on auto-send and every new post you publish is pushed to your subscribers, with no copying and pasting. Prefer to push only some of them? Choose the categories that should go out and leave the rest alone.
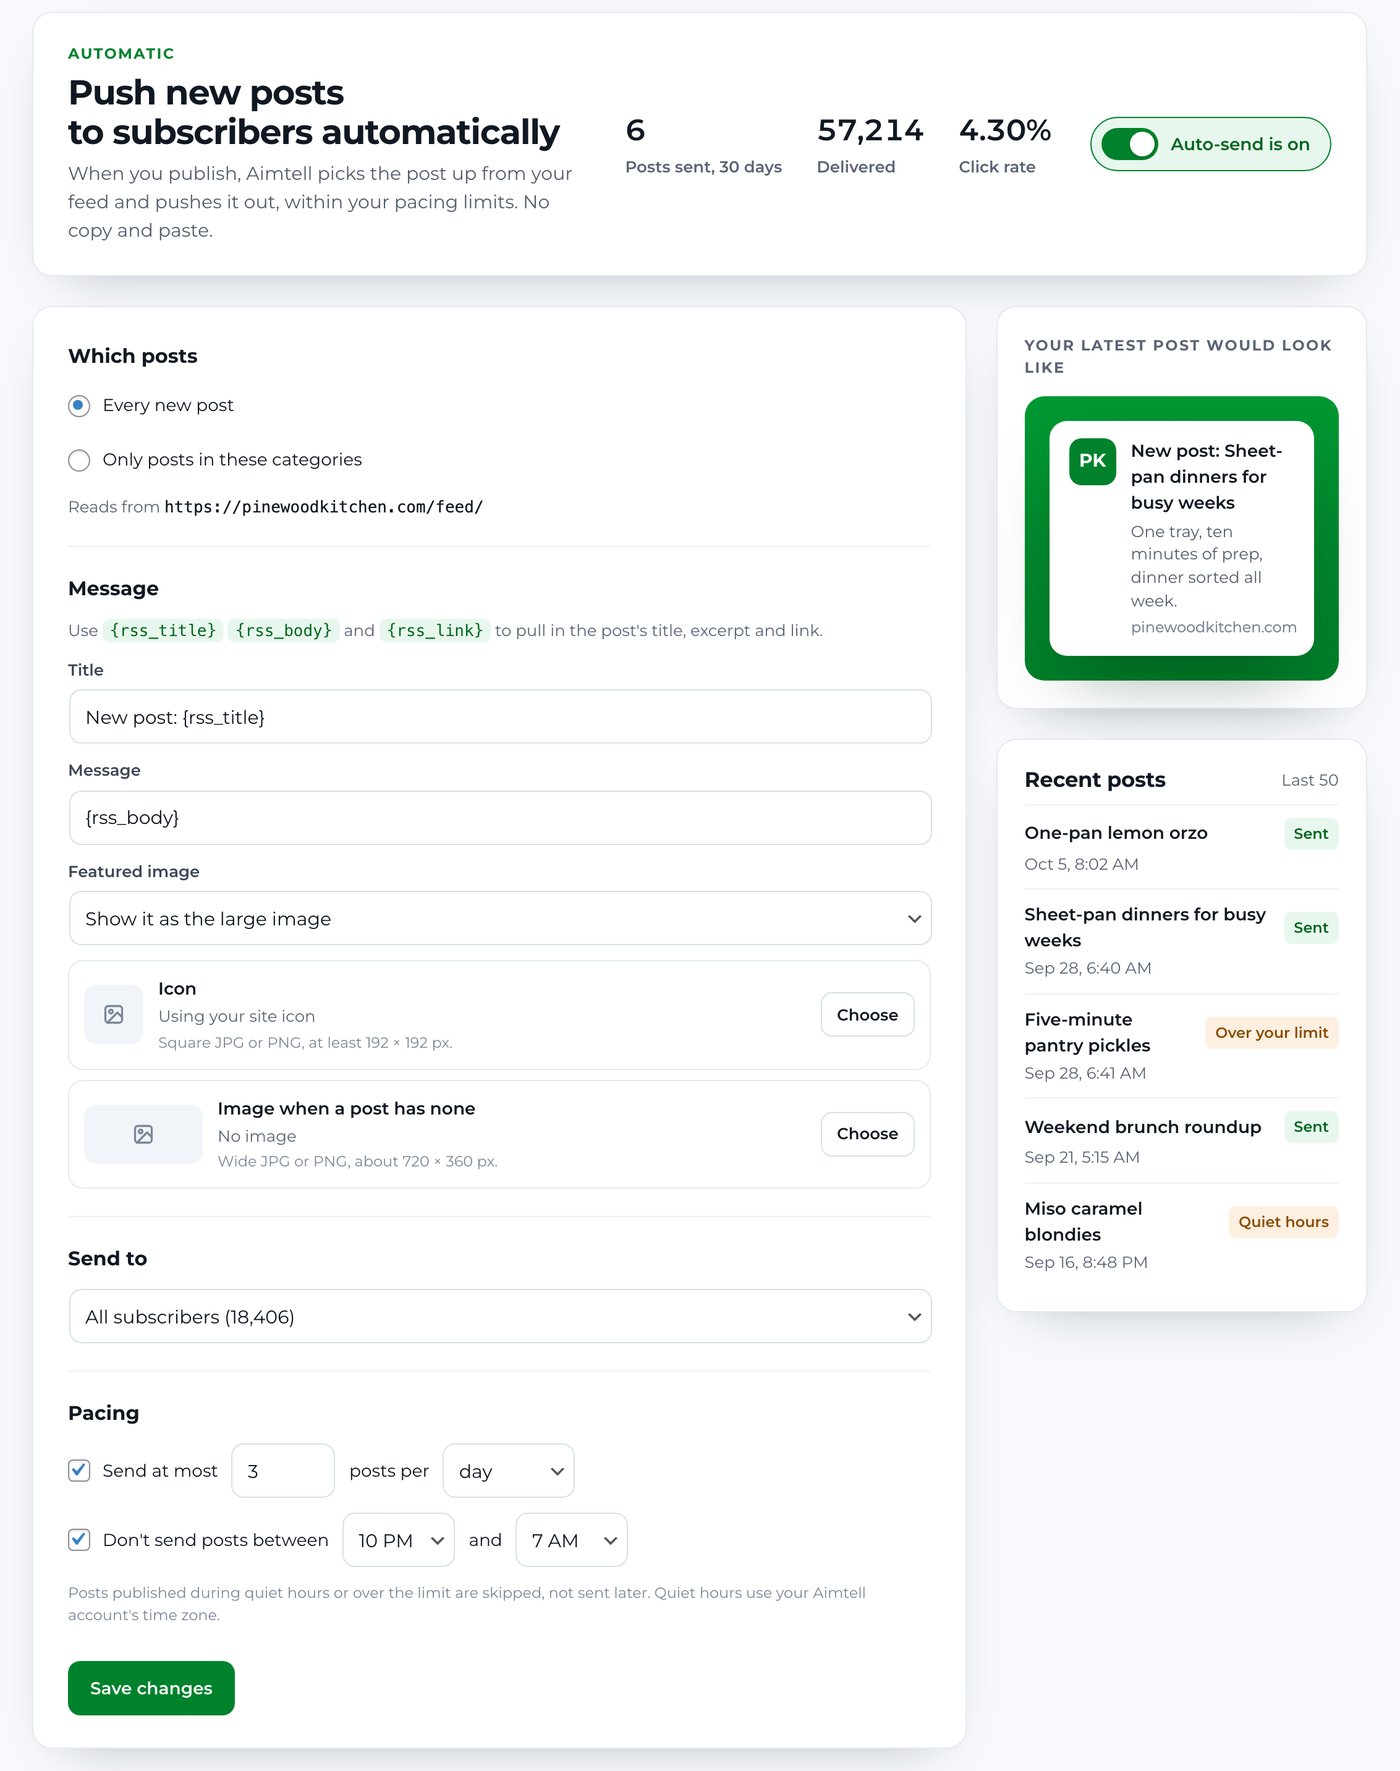
The title and message are templates, so New post: {rss_title} and {rss_body} pull in each post's title and excerpt. The post's featured image can be used as the large notification image, with a fallback icon and image for posts that have none.
Pacing keeps a busy publishing day from turning into a flood. Set a limit on how many posts go out per day or per hour, and quiet hours when nothing is sent at all. Posts that land during quiet hours or over the limit are skipped rather than queued, so your subscribers never wake up to a backlog.
Along the top you will see how many posts were sent in the last 30 days, how many notifications were delivered and the click rate. The Recent posts list shows the status of each of your latest posts: sent, quiet hours, or over your limit.
Target Readers by What They Do
Segments are now in WordPress too. The list shows each one with its rules written in plain English, how many subscribers it holds, and where it is being used, whether that is blog auto-send or a campaign.
The builder gives you a few starting points so you are not staring at an empty form: readers of a category, shoppers who left items in their cart, subscribers who have gone quiet, and frequent clickers. From there you can add rules for pages visited, last visit, country, device, clicks and events, and the subscriber count updates as you go.
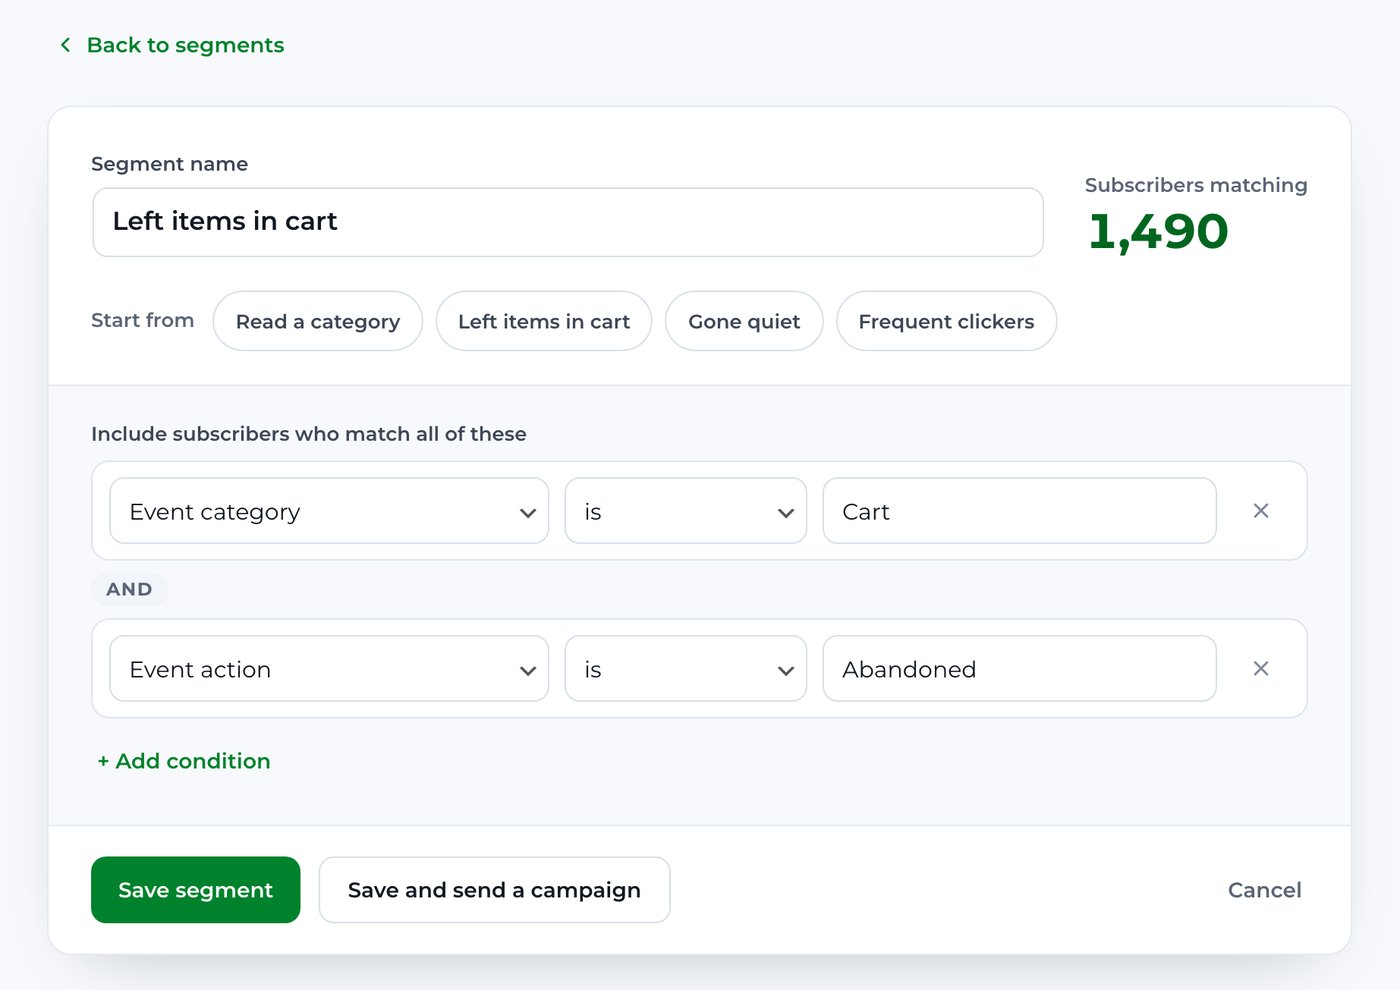
When it looks right, Save segment, or Save and send a campaign to go straight to the composer with that segment already picked. New sites also get an All Subscribers segment automatically, so there is always somewhere to send.
WooCommerce Reminders, Renamed and Easier to Find
The two WooCommerce options from earlier versions are still here, in a new Settings screen and with clearer names. Engagement boost is now Cart reminders, which notices when a shopper adds to their cart and leaves without checking out. Abandoned browse is now Product view reminders, which notices when a shopper looks at a product and goes idle, after a delay you choose.
If WooCommerce is not active on the site, both options are greyed out with a note explaining why, instead of a warning on every visit. Your choices are saved and apply as soon as WooCommerce is switched on.
A Cleaner, Safer Plugin Under the Hood
The whole plugin has been redesigned to match aimtell.com: white cards, clear labels and green buttons in place of an admin area painted green. It works at phone width too, so you can check your numbers from your phone's browser.
We also took the chance to tidy up what you cannot see. The plugin no longer loads around 120 KB of old Bootstrap styling into your admin. The troubleshooting log has moved out of the public plugin folder into a protected, randomly named file, which you can download or clear from Settings. And every save now checks that the request really came from you and that you have permission to make it.
Already Using the Plugin? Here Is What to Expect
Updating does not disconnect your site. Your tracking script keeps running and your visitors keep subscribing exactly as before. The first time you open the new Aimtell menu, sign in with your Aimtell email and password and the Overview, Campaigns, Blog posts and Segments screens fill in with your own data.
Version 3.0 is available now. Update from your WordPress Plugins page, or download it from the WordPress plugin directory. If you have a question or something you would like to see in the next version, get in touch.
New to Aimtell? Install the plugin and explore it on sample data, then start a free trial when you want to see your own subscribers.