Have you ever wanted the ability to track your subscribers’ actions across multiple domains? If so, today is your lucky day! We are excited to unveil our latest pixel tracking feature that lets you do just that.
This is a big deal if you’ve got other websites you manage, including any branch off websites that are connected to your main brand. For example, you may send users to a different website with a different domain in order to purchase products or schedule appointments (such as schedule.yourwebsite.com). Previously, the only thing you could track was if a user clicked to go to those sites. Now, by installing our tracking pixel, you can track their actions at those sites and monitor what is going on. Pretty cool, right?
![]()
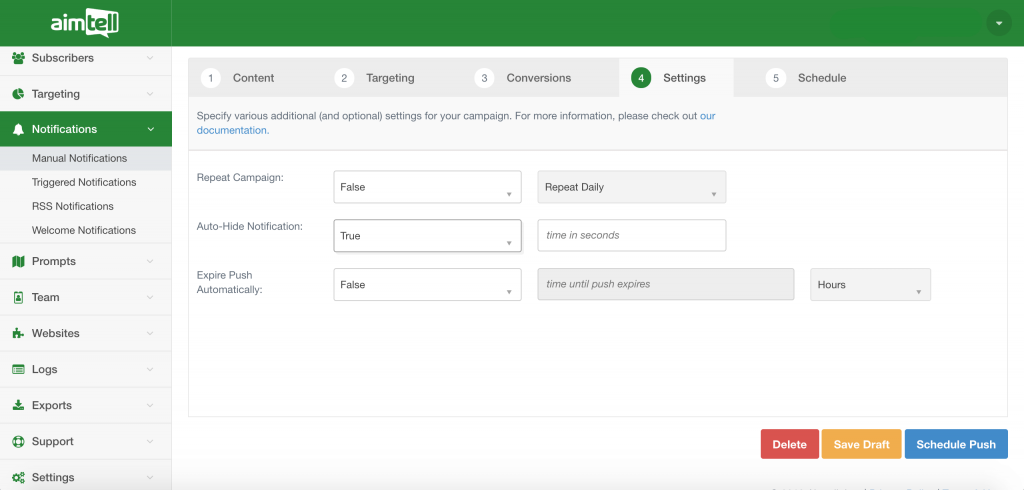
The tracking pixel itself is very easy to set up and install- head to your dashboard to get started. Click the ‘Advanced’ tab and then ‘Tracking Pixels’ to create your first pixel.
![]()
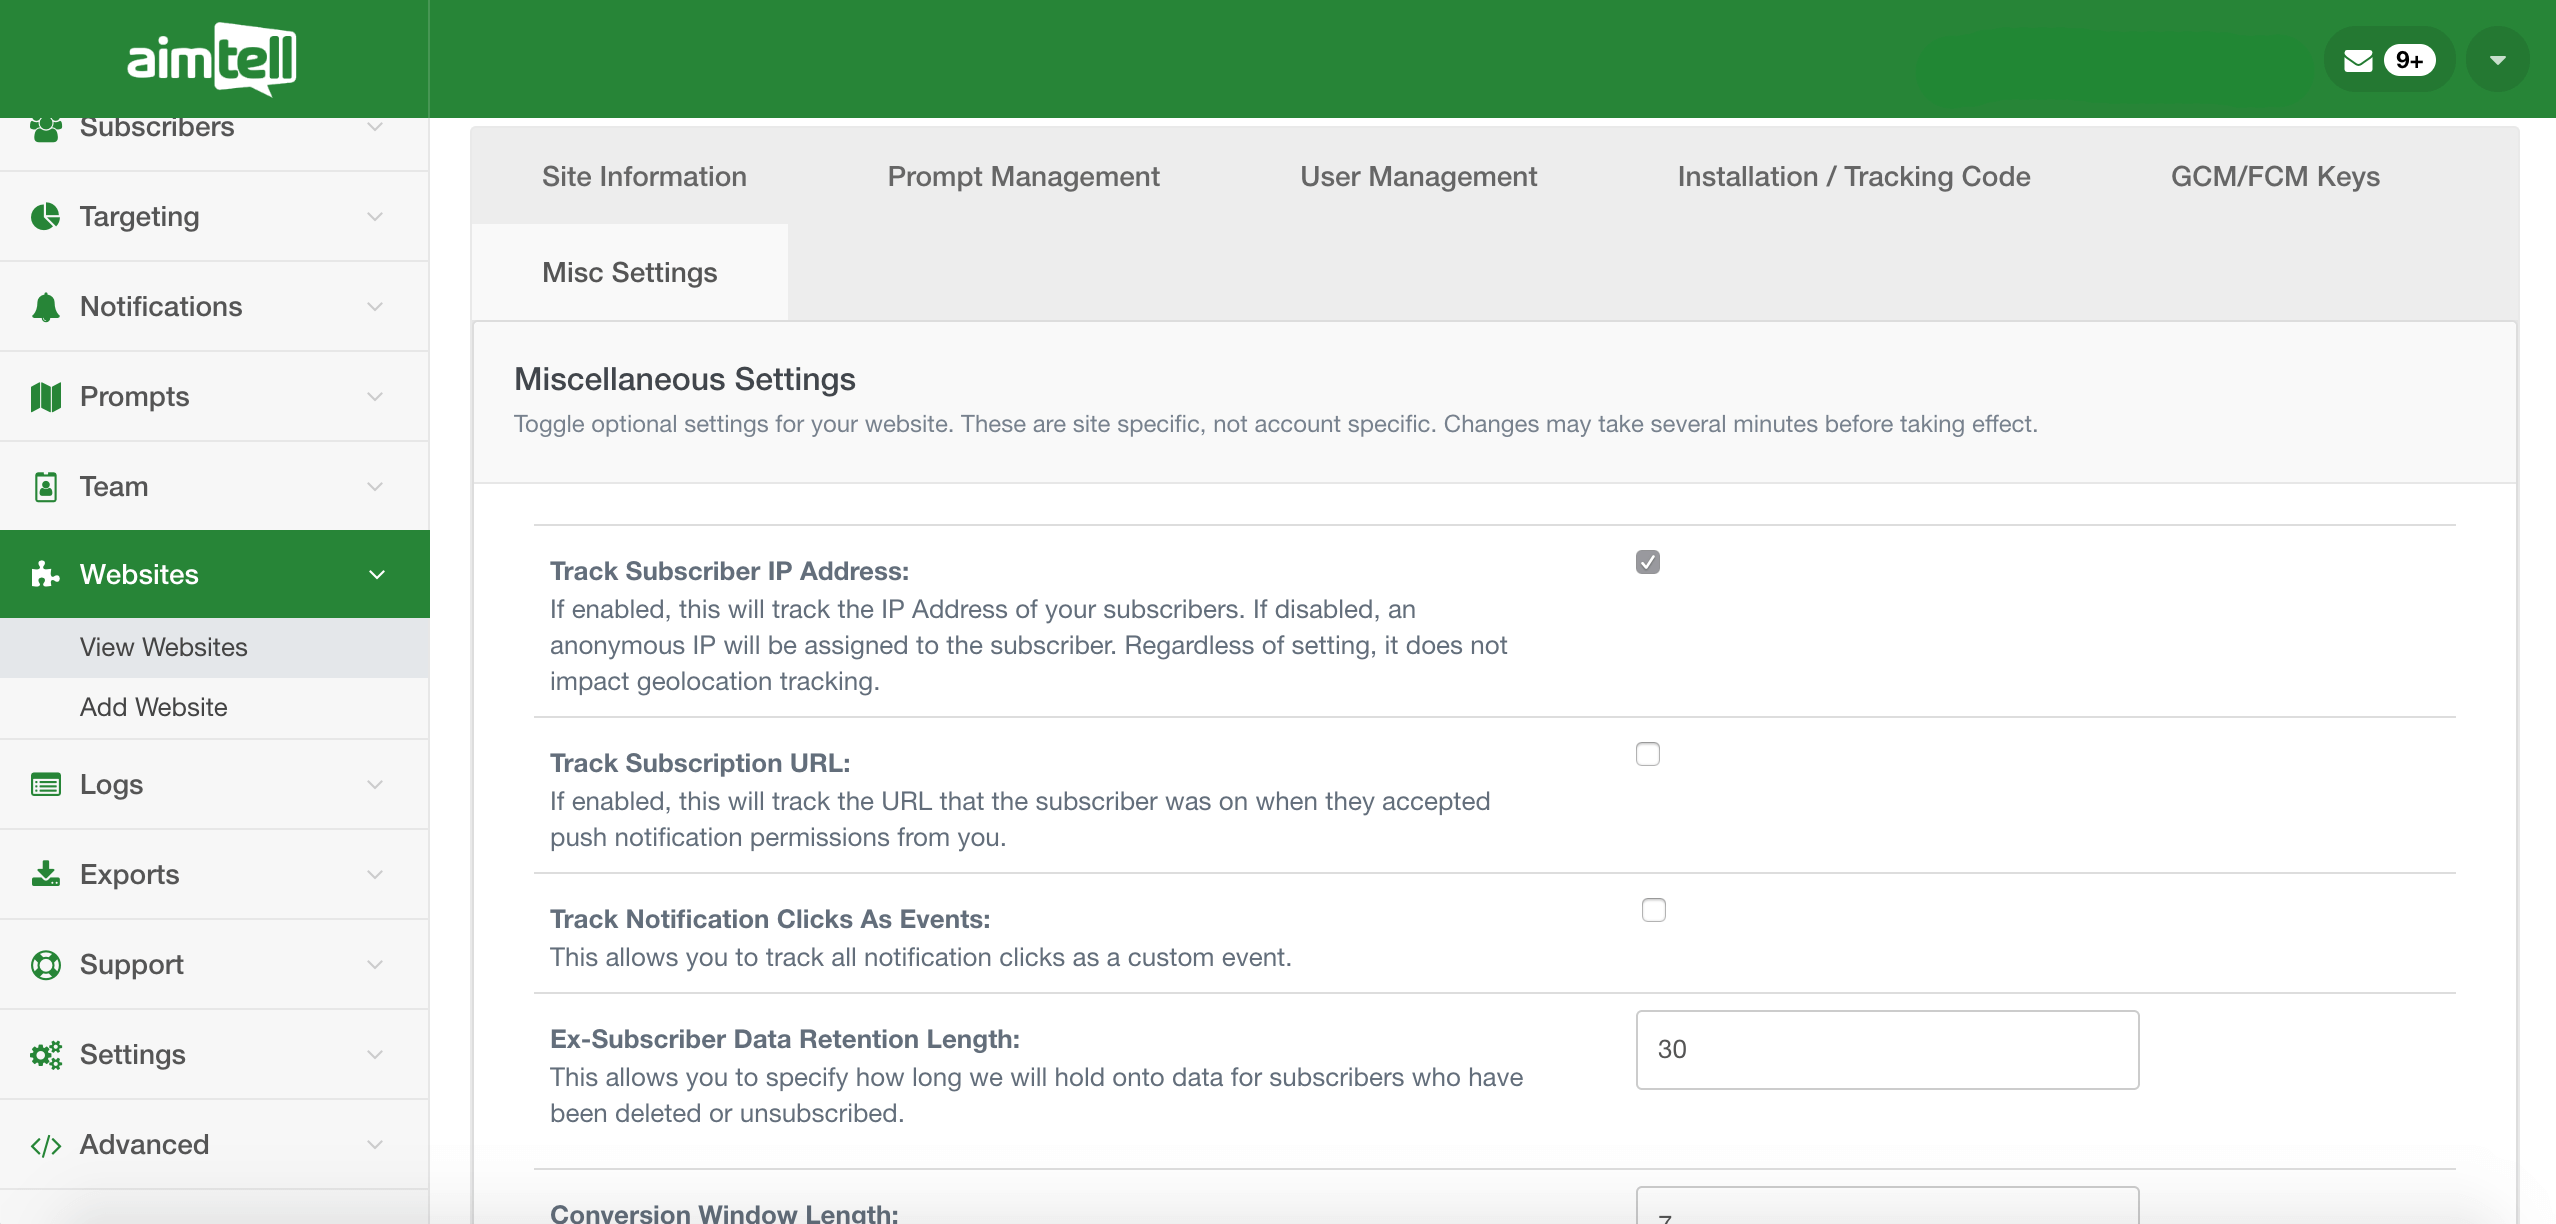
To create your pixel all you have to do is input a Category and Action. Optionally, you can also include a label and value, just as you are used to doing with setting up custom events. Essentially, the tracking pixel gives you the ability to track a custom event in the same way you are used to, just with the added benefit of tracking it at a different domain than the one your subscribers have opted-in at.
The above example shows what the set up would be to track the custom event of an item purchased. Set your category as ‘item’ and your action as ‘purchased’ and hit update pixel and you are all set. Input the code at the new website and you will start tracking events there even though your subscribers aren’t subscribed to web push notifications there. Be sure to place the code at the appropriate page of the site in order to properly track the event (say on a thank you page, for example).
Once you’ve set up your pixel, you can view results on campaigns that are set up to track custom events. For example, say you run a web push campaign asking users to schedule a free consultation. If a user clicks, they are sent to your scheduling website to select the time that works for them. Previously, your results would show you how many people clicked your campaign (in addition to how many notifications were sent).
While that is still good data to look at to measure the effectiveness of your campaign, wouldn’t you also like to know how many people actually signed up for an appointment? Set up your pixel to track scheduled appointments and you’ll be able to see how many people converted (in this case, the conversion is that they scheduled an appointment).
This latest feature gives you the ability to gain more information about your subscribers and actions they take at your websites as a result of your web push campaigns. Your analytics will be more complete and the info you track can then also be used to build more robust segments or set up new triggered notifications in the future. You can read our documentation for more information on setting up tracking pixels.
Our push notification tracking pixel is the big update we wanted you all to be aware of. However, there are a few other new features we have been working on as well!
That’s all for now! Are there any new features you’ve been waiting patiently for? Let us hear your ideas! Comment below or send us a message.
If you are new to Aimtell and web push, go ahead and start your 14-day free trial.