Now more than ever, it’s crucial to be able to communicate with your audience quickly and effectively. With that in mind, we wanted to make it even easier for our users to get started with sending web push notifications, as well as with creating segments. If you aren’t sure where to begin- try out one of our pre-made templates! This is an awesome new feature that we are really excited about.
We’ve also added webhooks for when certain events occur like new user subscriptions and have made some additional UI/UX improvements to our dashboard. Let’s dive in!
Pre-Made Templates
We know that getting started with new software can be overwhelming. While it’s incredibly easy to get our push notifications set up at your website, it can be daunting for some users to get their first campaigns actually up and running. If you fall into that category, or if you are simply lacking some inspiration, you’ll be excited to check out our new templates.

We’ve created templates for both segments and campaigns. These are designed to give you ideas as well as the actual framework for campaigns or segments that you can get set up for your website. When you login to your dashboard you will see the new ‘Templates’ tab for segmentation, as well as for manual, triggered, and RSS notifications.
 To use a template simply hit ‘View Template.’ If you just want to look at the campaigns you can hover over them, as seen above, to get a quick preview. Once you hit ‘View Template’ you will see the setup for that particular campaign or segment. Select ‘Use Template’ to add it to your list of notifications or segments. That’s it!
Keep in mind that you can’t make any edits to the templates themselves. However, once you select to use the template, you can then go and edit it as you are used to doing with campaigns and segments.
We hope that these templates give you some good ideas and also get you sending campaigns quicker than ever. Check back regularly as we’ll continue to update our template library with new content!
Webhooks
We’ve added the ability to create server to server webhooks that occur when a specific event happens. Currently, you can create a webhook for new subscribers, notifications clicks, or notification impressions. This is great if you want to store this type of information in your own database.

To get this set up, hit ‘Websites’ in the sidebar and select ‘Edit’ next to the website you want to get this set up for. You’ll then find the ‘Webhooks’ tab at the top of the page. Simply hit ‘Add Webhook’, select which type, input the URL you want, and press save.
For example, if you set yoursite.com/record-click as your URL for the notification clicked webhook, that is the site that will be notified any time a user clicks on a notification. This is very handy for developers, enterprise users, or anyone trying to integrate with third party tools and reports.
UI/UX Improvements
Finally, we’ve made a couple of improvements to our dashboard that we wanted to point out to you all:
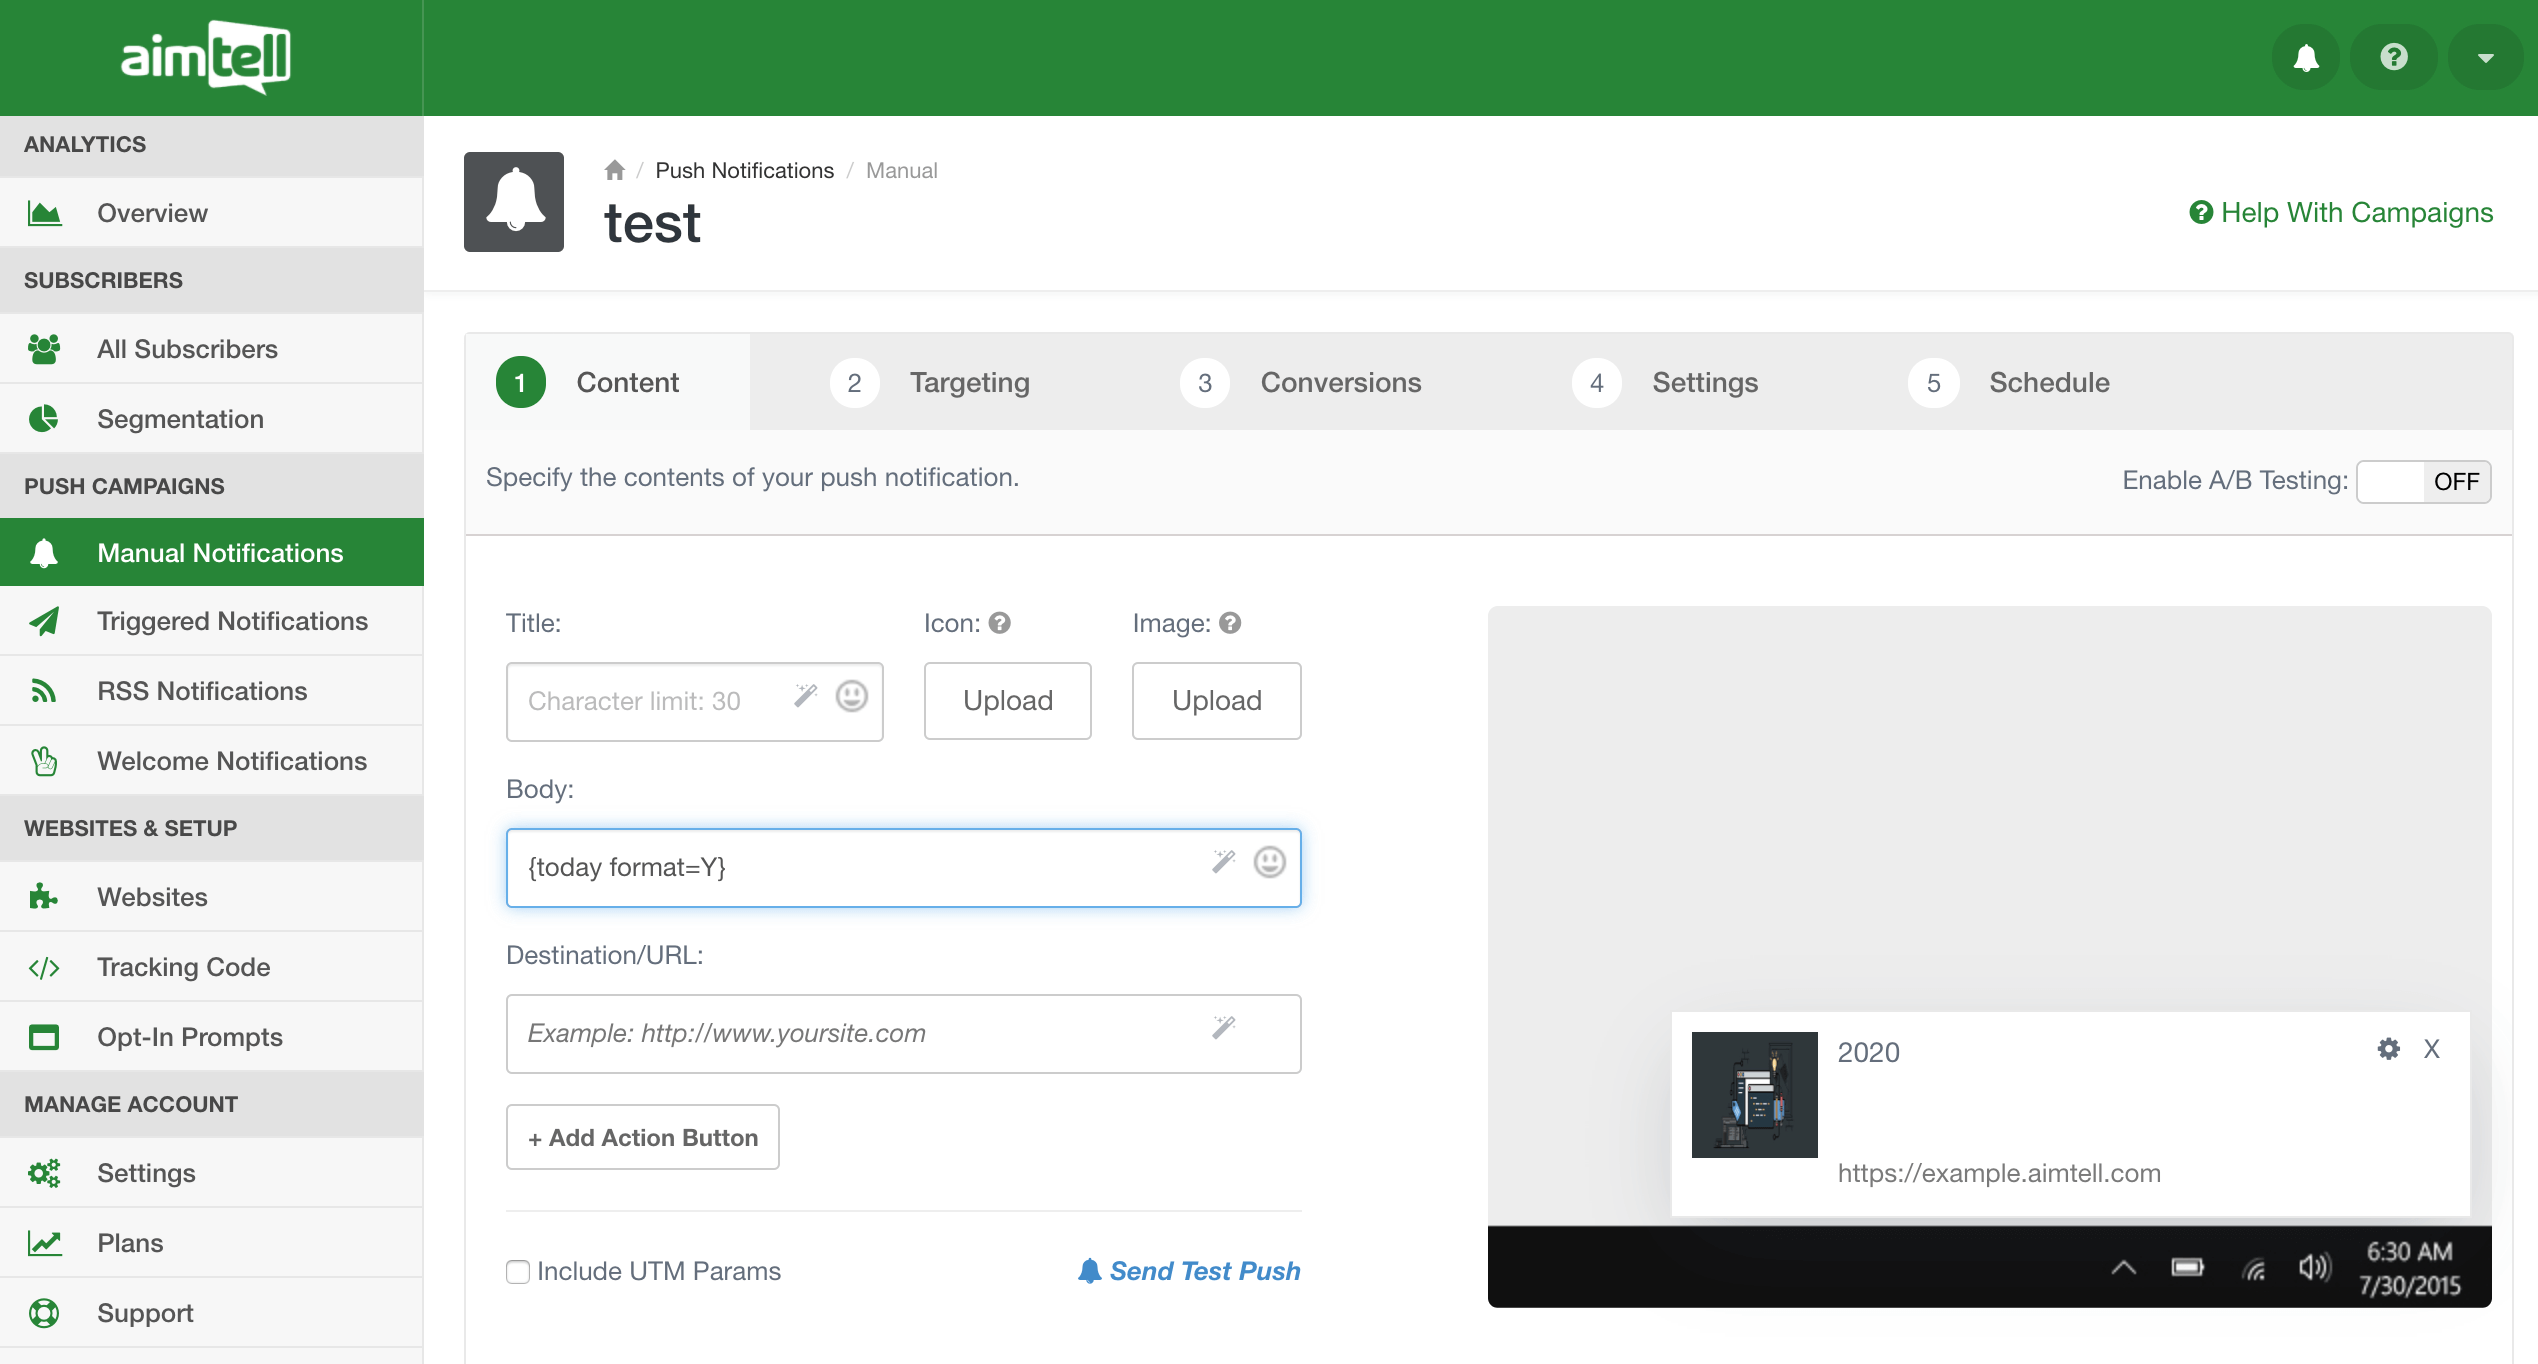
- Testing Improvements: One of the best ways to check how your web push notification will look is to test it! You have two main ways you can preview your notification before sending it live, and these both got a nice update. Now, both the preview window for your notification and any test pushes you send will look more accurate to what your live notification will be with regards to things like custom date formats or RSS content.

- Search by Campaign ID: Our typeahead functionality makes it easy to find the specific campaign you are looking for. You can already search for your campaigns by their name, and now you can also search by their campaign ID. This update applies across the board to all manual, triggered, and RSS campaigns. With RSS campaigns, you can also search by the feed URL to pull up the campaign you are looking for quickly. Enjoy!
Wrapping Up
These updates are all live now so be sure to put them to good use! We hope you’ll enjoy the new pre-made templates and find that they save you some time creating new campaigns or segments. Are there certain types of templates that you’d like to see? Be sure to let us know!
If you have any other questions regarding these latest updates, reach out to us and we will be happy to help. For those of you who are new to web push and want to get started, you can start your free trial with Aimtell or learn more about web push by reading our Beginner’s Guide.
GET STARTED FREE
Tags:
pre-made templates*, product feature, web push notifications.


 To use a template simply hit ‘View Template.’ If you just want to look at the campaigns you can hover over them, as seen above, to get a quick preview. Once you hit ‘View Template’ you will see the setup for that particular campaign or segment. Select ‘Use Template’ to add it to your list of notifications or segments. That’s it!


